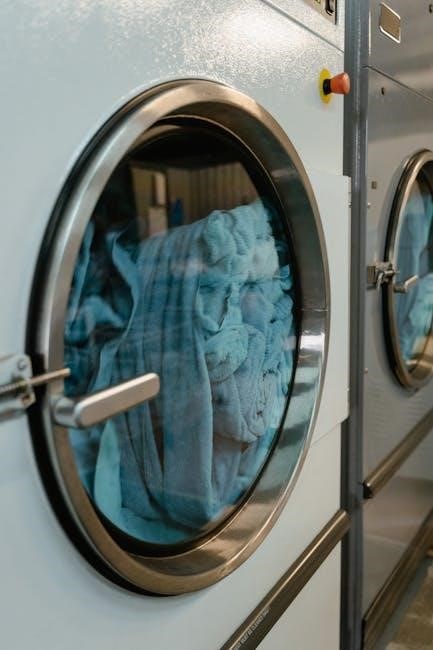
Overview of the Kenmore Series 600 Washing Machine Manual in Spanish
The Kenmore Series 600 washing machine manual is fully translated into Spanish, offering step‑by‑step guidance on installation, operation, maintenance, troubleshooting, and warranty claims. It features clear diagrams, safety warnings, cycle descriptions, and FAQs for Spanish‑speaking users. today!
Compatibility and Warranty Information for Series 600
Compatibility ensures the Kenmore Series 600 fits standard U.S. residential electrical and plumbing systems. The 12‑year limited warranty covers parts and labor for manufacturing defects, with a 2‑year coverage for accessories. Service centers provide online claim forms and support. 24‑month care plans.
Model Identification and Serial Number Retrieval
To locate the model and serial number on a Kenmore Series 600 washing machine, power off the unit and open the front panel. The serial number format indicates the model year and region code 2024USA. It is a 10‑digit alphanumeric code that uniquely identifies the appliance for service and warranty purposes. For digital records, use the Kenmore mobile app or the official website’s “Find My Appliance” tool, entering the serial number to access firmware updates, troubleshooting guides, and warranty status. If the sticker is missing or illegible, contact Kenmore customer support with the model’s approximate year and any visible markings; they can cross‑reference the manufacturing date and internal part numbers to retrieve the correct serial information. Keep a written note of the serial number in your home appliance logbook to expedite future service calls or warranty claims. If you need to replace the front panel, the model number must match the replacement part to ensure proper fit and functionality. For advanced users, the serial number can also be read via the control panel by pressing the “Info” button, which displays a scrolling list of diagnostic data, including the serial code. This method is useful when the physical sticker is damaged or removed during a repair. Proper identification of the model and serial number is essential for accurate parts ordering, firmware updates, and compliance with safety regulations during maintenance or upgrades.

Installation Requirements and Setup Procedures
Before installing a Kenmore Series 600, ensure the unit is level and the outlet matches the 120 V rating. Connect water hoses to marked inlet valves, no kinks. Secure the drain hose to the floor drain, close water valves. Verify model and serial numbers for warranty. Check the manual for details. now

Electrical Connections and Safety Precautions
Before powering on a Kenmore Series 600, verify that the electrical supply matches the appliance’s rated voltage (120 V) and amperage. Use a dedicated 15‑amp circuit breaker; avoid multi‑purpose outlets. The power cord should be free of cuts or frays; replace it immediately if damaged. Ground the unit by connecting the green grounding wire to the outlet’s grounding terminal or to a metal water pipe. Ensure the outlet is GFCI‑protected, especially in damp areas. Never use extension cords or power strips; they can cause overheating and fire hazards. Keep the area around the machine dry and clear of flammable materials. Follow the manufacturer’s wiring diagram, labeling each terminal: neutral (white), hot (black), and ground (green). If you are not comfortable with electrical work, hire a licensed electrician. After installation, test the machine with a low‑load cycle to confirm proper operation before full use. Adhering to these precautions reduces the risk of electrical shock, short circuits, and appliance damage. Additionally, use a voltage tester to confirm the outlet supplies correct voltage before connecting. Inspect the outlet for corrosion or loose connections. Verify that the breaker is reset and that the breaker box is labeled. Keep the plug firmly seated and avoid twisting the cord. Finally, consult the local electrical code for any additional requirements such as a dedicated circuit or specific grounding methods. Always double‑check that the outlet’s neutral and ground connections are secure, and never operate the machine if any wiring appears loose or damaged.!
Water Supply and Drainage Setup
Connect the inlet hoses to the machine’s water valves, ensuring the hot hose is attached to the hot water supply and the cold hose to the cold supply. Tighten each connection with a ¾‑inch wrench, but avoid overtightening to prevent hose damage. Inspect hoses for kinks or cracks before installation; replace any compromised hoses immediately. Position the machine on a level surface to allow proper drainage; use a floor drain or a dedicated drain hose that exits the building through a wall or roof vent. The drain hose should be secured with a clamp and have a 45‑degree bend to prevent backflow. Verify that the drain outlet is at least 12 inches above the floor to avoid water pooling. Before running a cycle, check the water pressure; it should be between 40 and 120 psi. If pressure is too high, install a pressure regulator. Ensure the machine’s filter is clean and the drain area is free of debris. Test the drainage by running a short cycle; observe that water exits smoothly and no leaks appear. If the machine does not drain, inspect the drain hose for clogs, and check the drain pump for obstructions. Follow the manufacturer’s instructions for cleaning the filter and pump regularly to maintain efficient drainage. Proper water supply and drainage setup ensures safe operation and prevents water damage to the surrounding area.
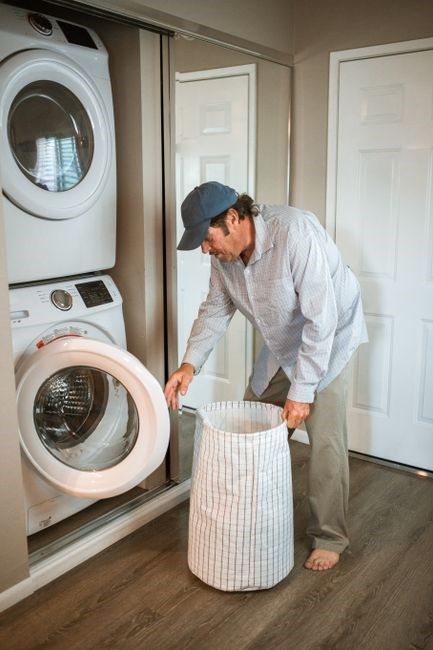
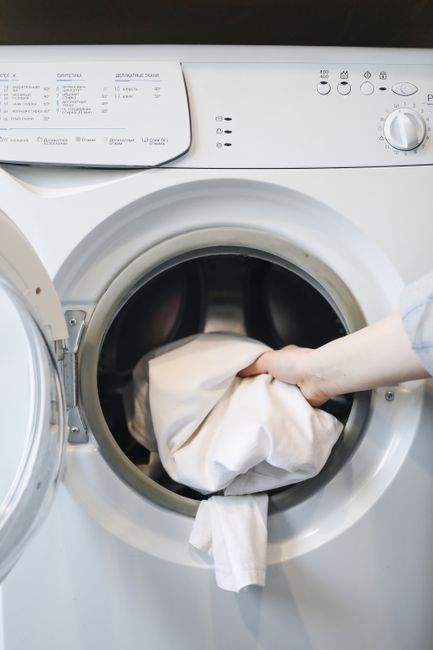
Operating the Machine: Load and Detergent Guidelines
Load the Kenmore Series 600 evenly, not exceeding 8 kg per cycle. Use liquid detergent at the recommended 1 tsp per load, or powder at 2 tsp. Avoid over‑dosing, which can cause residue. Pre‑wash delicate fabrics separately. and rinse.
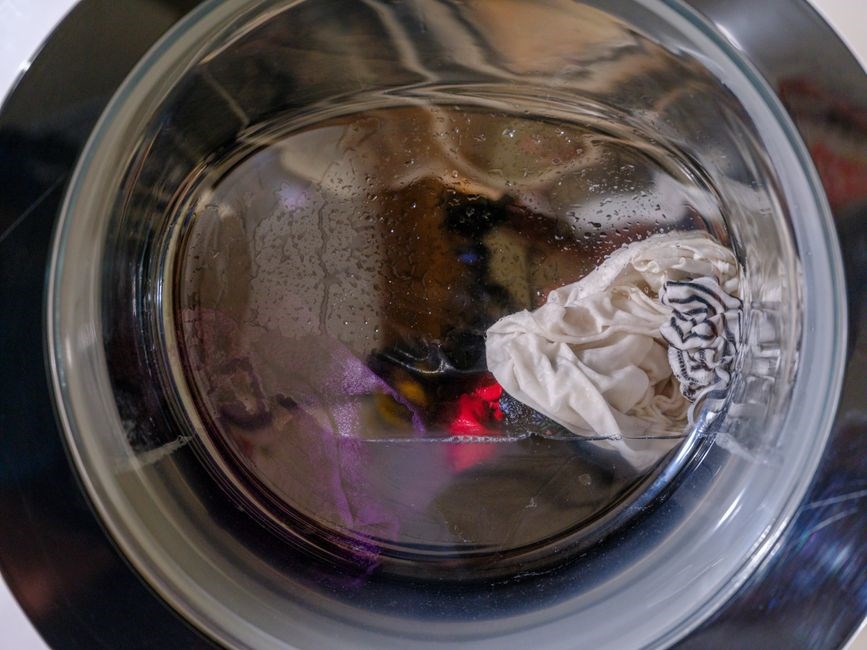
Choosing the Correct Wash Cycle for Various Fabrics
Kenmore Series 600 offers multiple cycles: Normal, Delicates, Heavy‑Duty, Wool, Silk, Quick Wash, Rinse & Spin, and Eco‑Wash. For cotton and mixed fabrics, use Normal with 40–60 °C and 800–1200 rpm spin. Heavily soiled workwear goes to Heavy‑Duty, raising temperature to 60–90 °C and spin to 1200 rpm. Silk, lace, or fine synthetics belong to Delicates; spin 400–600 rpm, 30–40 °C, gentle agitation. Wool garments need the Wool cycle: low‑speed spin 400–600 rpm, 30 °C, to avoid felting. Color‑safe items use Delicates or Quick Wash at 20–30 °C. Quick Wash completes a full wash in 15–20 minutes, ideal for lightly soiled clothes. Rinse & Spin is for a quick rinse without a full wash. Eco‑Wash conserves energy, using 30–40 °C and reduced water, suitable for everyday lightly soiled fabrics. Matching cycle to fabric type and soil level extends garment life and keeps the machine running efficiently.
Lorem ipsum dolor sit amet, consectetur adipiscing elit. Sed do eiusmod tempor incididunt ut labore et dolore magna aliqua. Ut enim ad minim veniam, quis nostrud exercitation ullamco laboris nisi ut aliquip ex ea commodo consequat. Duis aute irure dolor in reprehenderit in voluptate velit esse cillum dolore eu fugiat nulla pariatur. Excepteur sint occaecat cupidatat non proident, sunt in culpa qui officia deserunt mollit anim id est laborum. The comprehensive guide ensures users achieve results while preserving machine longevity and fabric quality.!
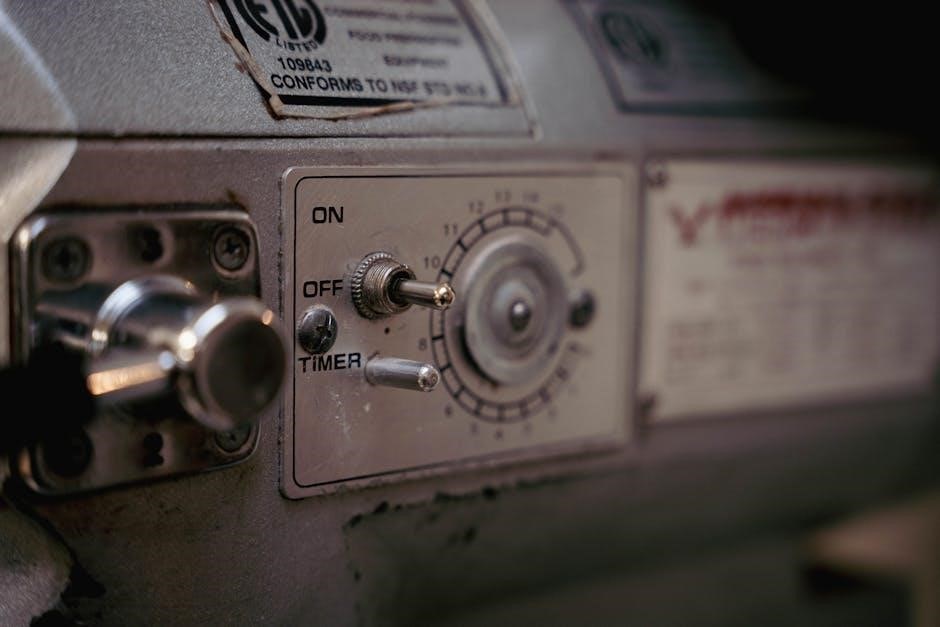
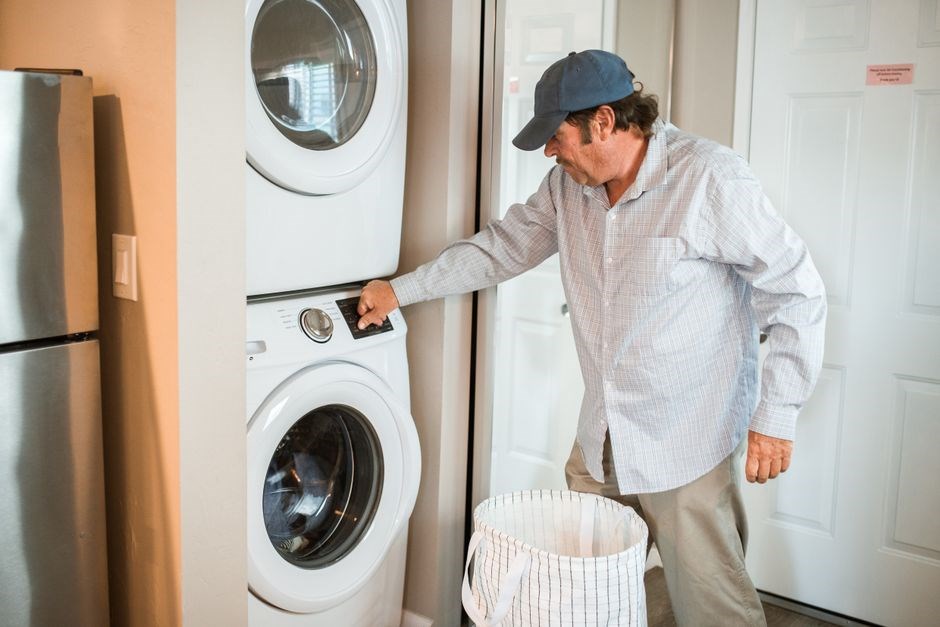
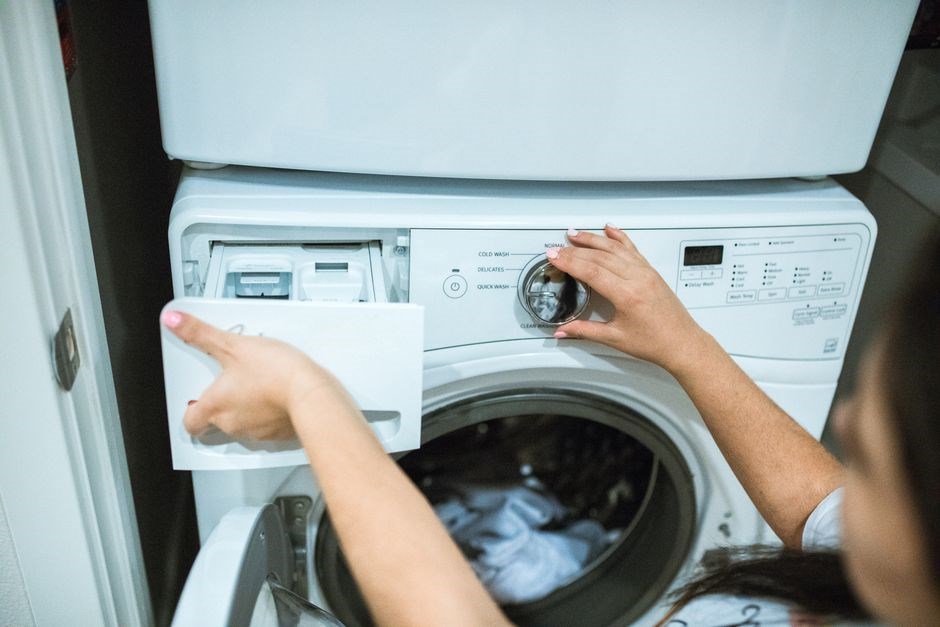
Adjusting Temperature and Spin Speed Settings
Kenmore Series 600 provides a digital control panel with selectable temperature presets ranging from 20 °C to 90 °C, allowing users to tailor wash water to fabric needs. To change the temperature, press the Temp button until the desired value appears on the display, then confirm with Start. For spin speed, the machine offers 400, 800, and 1200 rpm options. Selecting a higher spin reduces drying time but can increase wear on delicate items, so choose 400 rpm for silk or wool and 1200 rpm for cotton or towels. The Spin button cycles through speeds; the selected rpm is shown in the status window. Users can also set a custom spin by holding the Spin button for 3 seconds, entering the desired rpm via the numeric keypad, and pressing Start. The system automatically adjusts water temperature based on the chosen cycle, ensuring optimal cleaning while preserving fabric integrity. Always verify that the selected settings match the garment care label to avoid shrinkage or damage.
When adjusting temperature, remember that higher settings consume more energy and may cause fabric shrinkage. For eco‑friendly operation, choose the lowest effective temperature. Spin speed adjustments affect drying time: higher rpm speeds reduce moisture, but too high can damage delicate fibers. Use the manual’s recommended settings for each load type to balance cleaning performance and garment care!! .
Maintenance and Cleaning Recommendations
Keep the Kenmore Series 600 clean by wiping the door seal, running a monthly rinse cycle with a cup of vinegar, and cleaning the lint filter after each load. Inspect hoses for cracks, and replace them every 5 years. Use a mild detergent and avoid overloading to maintain performance. Clean often!!
Filter Cleaning and Descaling Procedures
To keep the Kenmore Series 600 running smoothly, perform regular filter cleaning and descaling. First, locate the front‑door access panel and open it. Remove the lint filter and rinse it under running water, using a soft brush to eliminate stubborn debris. Next, inspect the filter housing for buildup; wipe it with a damp cloth. For descaling, run an empty cycle with a cup of white vinegar or a commercial descaler. After the cycle, let the machine dry, then reassemble the filter and panel. Repeat this process every 3 months or after heavy usage to prevent clogs and maintain water pressure. Always consult the user manual for specific descaler recommendations and safety warnings.
When descaling, always read the descaler’s instructions and avoid mixing chemicals. If your machine has a built‑in descaler dispenser, use the recommended amount; otherwise, pour the solution into the detergent drawer. Run a rinse cycle after descaling to remove residue. For heavy mineral deposits, repeat the cycle twice. Keep the filter area dry between washes to prevent mold. If you notice a lingering odor, run a hot water cycle with a cup of baking soda. Regular maintenance extends the machine’s lifespan and keeps wash performance optimal.
If the filter becomes clogged, stop the machine, remove the filter, and clean it thoroughly. Store the filter in a dry place. After cleaning, reinsert it securely. This simple step prevents water leakage and ensures washing cycles.
Preventing Mold and Odor Build‑Up
After each wash, leave the door slightly ajar to allow air circulation and dry the drum interior. This simple habit reduces moisture that encourages mold growth. Periodically wipe the rubber gasket with a mild detergent and a damp cloth, then dry it thoroughly. Avoid using harsh chemicals that can damage the seal. If you notice a musty smell, run an empty hot‑water cycle with a cup of white vinegar or a commercial odor‑removing agent. For deeper cleaning, add a half‑cup of baking soda to the detergent drawer and run a full cycle. This neutralizes acids and removes lingering residues.
Store laundry detergent in a dry, well‑ventilated area to prevent condensation on the packaging. Keep the machine’s filter clean by removing it monthly and rinsing under running water. A clogged filter traps water and fabric fibers, creating a breeding ground for bacteria. After cleaning, reinsert the filter securely. If the machine has a built‑in descaler, use it every three months to dissolve mineral deposits that can harbor odors. Inspect the drain hose for kinks or blockages; a restricted drain can cause water to stagnate.
For households with high humidity, consider installing a dehumidifier in the laundry room. This reduces ambient moisture and helps keep the machine dry. Finally, schedule a professional service inspection annually to ensure all components are functioning properly and to address any hidden issues that could lead to mold or odor problems. Use a mild detergent to avoid residue buildup.!!
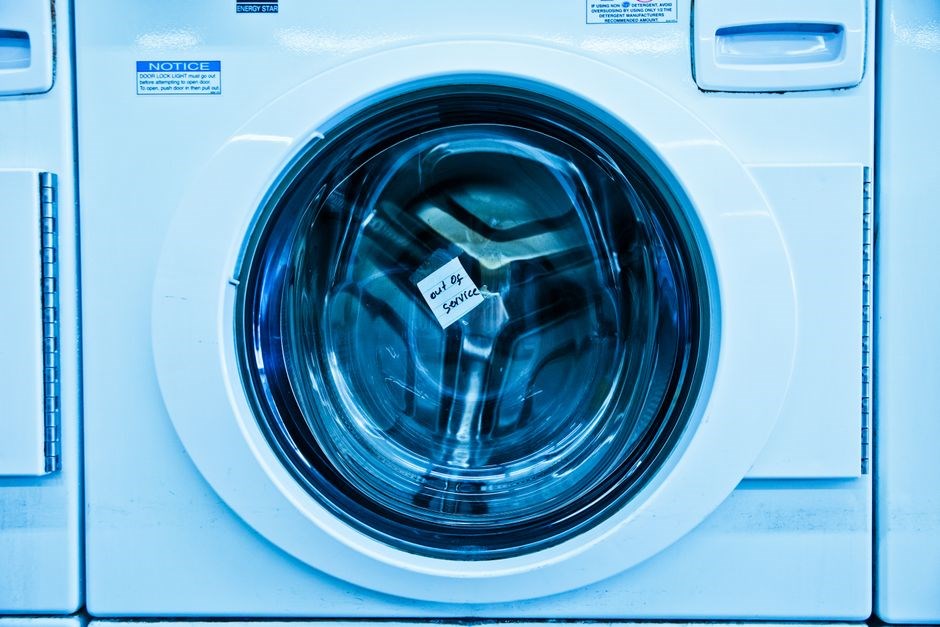
Common Troubleshooting Issues
Common issues include power failures, error codes, water leaks, and motor stalls. Check the power cord, circuit breaker, and water inlet valves. Reset the unit by unplugging for 30 seconds. Refer to the error code list for specific diagnostics and solutions. Help
Water Not Filling or Overflowing
Additionally, verify that the water inlet valves are not partially closed due to a faulty solenoid. A malfunctioning sensor can cause the machine to shut off the inlet, leading to under‑fill. In overflow cases, ensure the drain hose is not kinked or too high, so drainage is proper. If the drain pump motor stalls, replace it according to the manufacturer’s guidelines. Finally, always check the user manual for any model‑specific warnings about water pressure ranges and recommended hose lengths. Following these steps will help restore normal water flow and prevent damage to the appliance!
Unresponsive Control Panel or Error Codes
When the Kenmore Series 600’s control panel fails to respond or displays error codes, begin by checking the power supply. Ensure the unit is properly grounded and that the circuit breaker has not tripped. If the panel remains unresponsive, reset the machine by unplugging it for 60 seconds, then plugging it back in. This often clears transient faults. Should error codes persist, consult the code list in the user manual: codes such as E01 (door lock fault), E02 (motor overload), or E03 (sensor failure) indicate specific issues. For a door lock fault, inspect the latch for obstructions and verify the lock actuator is functioning; a faulty actuator should be replaced. Motor overload errors usually stem from a jammed drum or an over‑filled load; remove any foreign objects and reduce load size. Sensor failures may involve the water level sensor or temperature sensor; test these with a multimeter for continuity and correct voltage. If the panel still does not respond after these steps, the control board may be damaged and should be inspected by a qualified technician; Always refer to the manufacturer’s troubleshooting guide for detailed procedures and safety precautions before attempting any repairs. Contact Kenmore support if the problem remains unresolved.
In addition, ensure the firmware version is up to date; some models allow firmware updates via USB. If the machine supports this, download the latest firmware from the official Kenmore website, copy it to a USB drive, and insert it into the designated port. Follow the on‑screen prompts to complete the update. Firmware issues can cause the control panel to freeze or display incorrect error codes. After updating, perform a full cycle to confirm normal operation. If the issue persists, schedule a service appointment. The service center will have diagnostic tools to read error logs and replace defective components. This comprehensive approach ensures the machine returns to full functionality while maintaining safety and compliance with warranty terms. Thanks for help.
Warranty Claim Process and Customer Support Resources
The Kenmore Series 600 is covered by a one‑year limited warranty that protects against manufacturing defects. All steps are illustrated. To initiate a claim, locate the original purchase receipt and serial number, then call Kenmore Customer Service at 1‑800‑564‑6637 or visit the official support portal. Provide the model, serial, and a concise description of the issue. The representative will confirm coverage, schedule a technician visit, or arrange for a return shipment if the unit cannot be serviced locally.
Before the technician arrives, unplug the machine, shut off the water supply, and clear the drain hose. The technician will run diagnostics, note any error codes, and determine if the fault is warranty‑covered. Covered repairs or replacements are performed at no charge; non‑covered issues will receive an estimate, and the customer may decide to proceed or seek a replacement.
- Online help: Kenmore Support offers PDFs, FAQs, and troubleshooting guides.
- Live chat: 24/7 support.
- Service centers: Find an authorized provider by ZIP code on the Kenmore website.
- Warranty registration: Register online to activate coverage.
International customers can use the warranty portal to locate partners. Claims must be submitted within the warranty period; after expiration, a service fee may apply. Keep receipts and service records for reference. The 30‑day return policy allows returns of unused units in original packaging.