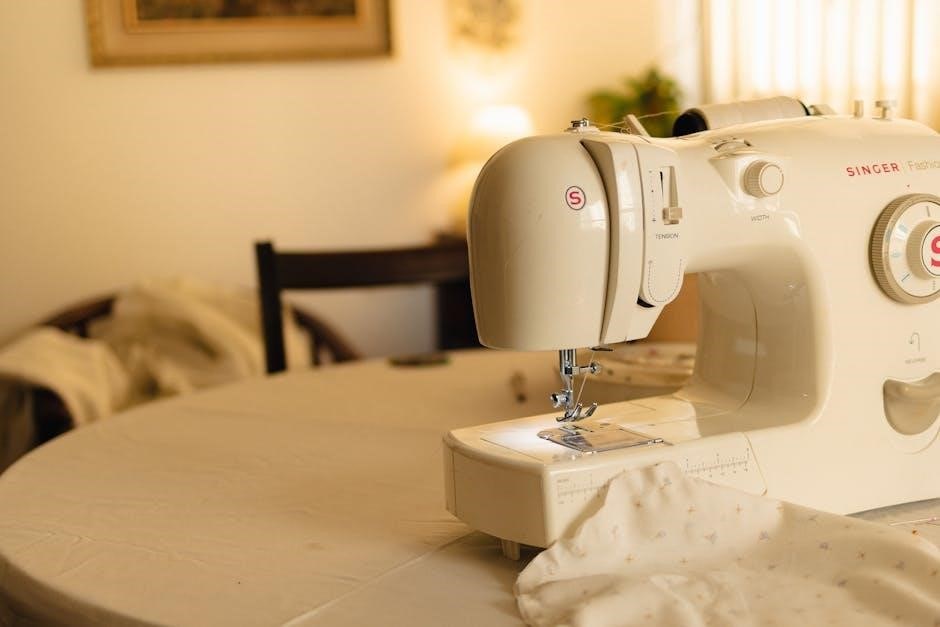
Identifying Your Vintage Singer Sewing Machine
Discovering your Singer’s age begins with locating its model and serial numbers, often found on a plate—essential for tracing its rich history and origins.
Understanding Serial Numbers and Model Numbers
Singer sewing machines utilize both serial and model numbers for identification, each offering unique insights into the machine’s history. The model number, typically a series of digits, often indicates the machine’s design and features, and can hint at its production timeframe – especially for pre-1950 models where sequential numbering was common.
Serial numbers, conversely, provide a more precise indication of the manufacturing date. These numbers were stamped sequentially, allowing enthusiasts to pinpoint the year, and sometimes even the month, a machine left the factory. Understanding the numbering system is crucial; Singer altered these systems over time, necessitating reference charts and guides for accurate decoding. Both numbers are vital tools for collectors, restorers, and anyone seeking to learn more about their vintage Singer.

Locating the Serial Number Plate
Finding the serial number plate on a vintage Singer can sometimes be a bit of a treasure hunt! Typically, this small metal plate is affixed to the machine’s frame. Common locations include the back of the machine, often on the right side when facing it, or underneath the bedplate.
However, placement varied over the years and by model. Early machines might have the plate on the base, while later models could conceal it under a decorative cover or even inside the handwheel cover. Careful inspection is key; look for a small, rectangular plate with embossed numbers. If the plate is missing, numbers may be stamped directly onto the frame – though this is less common. Patience and a good light source are your allies!
Decoding the Serial Number ─ Production Date
Once you’ve located the serial number, determining the production date requires referencing historical Singer serial number charts. These charts correlate specific serial number ranges with corresponding manufacturing years. For example, numbers falling between AN-465.662 and AN-661.994 generally indicate a production year of 1963.
Similarly, numbers from AN-661.995 to AN-999.999 point to 1964. It’s crucial to use reliable, comprehensive charts as variations exist. Remember that serial numbers aren’t always strictly sequential; production runs and model changes can cause overlaps. Online resources and dedicated Singer enthusiast communities offer detailed charts and assistance with decoding, helping you pinpoint your machine’s birth year with accuracy.
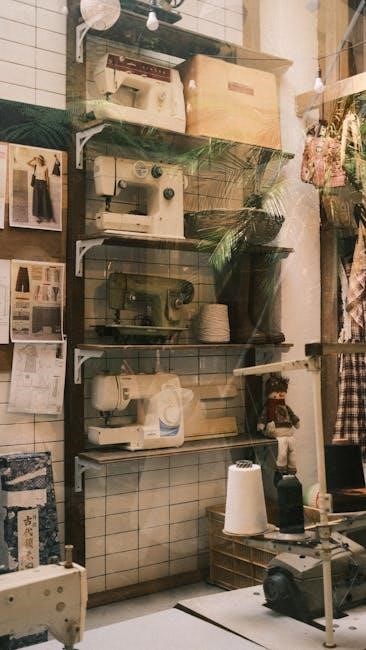
A Historical Overview of Singer Sewing Machines
Singer revolutionized home sewing in 1851, evolving through eras like the early years, the Featherweight age, and post-war innovations, shaping sewing history.
The Early Years: 1851 ─ 1900
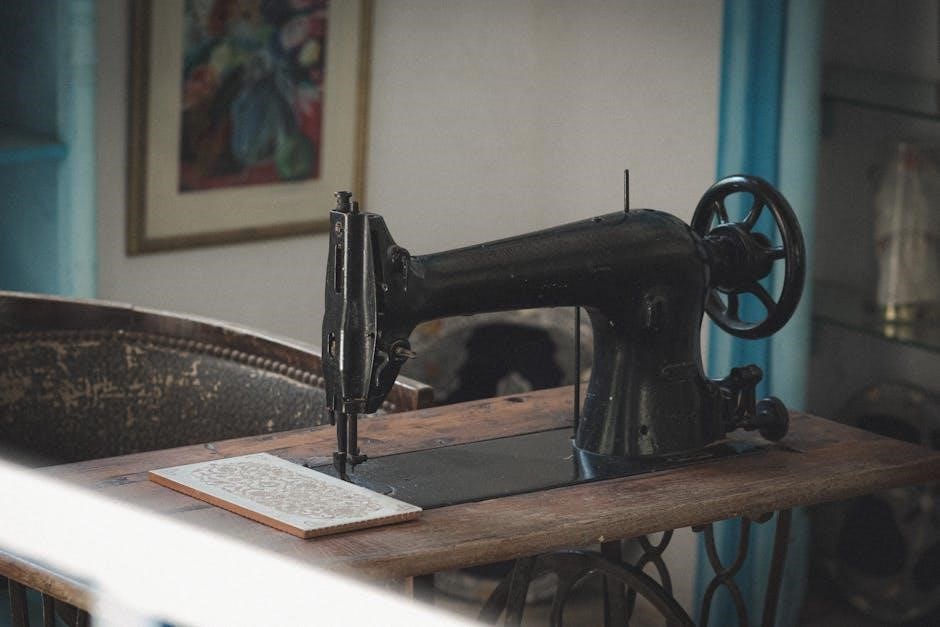
The initial decades of Singer’s existence, from 1851 to 1900, were marked by groundbreaking innovation and rapid expansion. Isaac Singer’s patented sewing machine, with its continuous stitch, quickly gained prominence, transforming the garment industry and domestic life. Early models were often treadle-operated, requiring skillful footwork to power the needle.
These machines weren’t simply functional; they were also becoming status symbols, showcasing Victorian craftsmanship with ornate designs and decorative elements. The company aggressively pursued patents and expanded its manufacturing capabilities, establishing a global presence. Manuals from this period are scarce but highly valued by collectors, offering glimpses into the operation and maintenance of these pioneering machines. The focus was on durability and reliability, laying the foundation for Singer’s enduring legacy.
The Featherweight Era: 1920s ⎯ 1950s
The 1920s through the 1950s witnessed the rise of the Singer Featherweight – models 221 and 222K – becoming iconic for their portability and robust construction. Designed for both home and travel, these machines quickly gained popularity among quilters and seamstresses. Their lightweight design, coupled with powerful motors, made them incredibly versatile.
Original manuals for Featherweights are relatively common, providing detailed instructions on operation, maintenance, and troubleshooting. These manuals often include diagrams illustrating proper threading and bobbin winding techniques. The Featherweight’s enduring appeal stems from its simplicity, reliability, and the availability of parts, ensuring these machines continue to be cherished and used today. They represent a golden age of Singer’s design and engineering.
Post-War Innovations: 1950s ⎯ 1970s
Following World War II, Singer introduced a wave of innovations, including more electric models and streamlined designs. Machines from the 1950s to 1970s often featured built-in motors, zigzag stitching capabilities, and decorative stitch options. Manuals from this period reflect these advancements, detailing how to utilize the new features and maintain the increasingly complex mechanisms.
These manuals frequently included stitch guides and project ideas, catering to the growing home sewing market. While parts availability remains generally good, some specialized components for later models can be harder to find. Understanding the specific model number is crucial for locating the correct manual and ensuring proper maintenance, preserving these machines for future generations of sewists.
Popular Vintage Singer Models
Iconic Singers like the 201, 15, and Featherweight 221/222K boast enduring popularity; their manuals are vital for restoration and continued use.
Singer 201 ⎯ The Workhorse
The Singer 201, often dubbed “the workhorse,” earned its reputation through robust construction and reliable performance. Produced from 1936 to 1957, this machine handled a vast range of fabrics, from lightweight cottons to heavy denim, making it a staple in many households. Locating a genuine Singer 201 manual is incredibly valuable for owners today.
Original manuals provide detailed instructions on threading, stitch selection, maintenance, and troubleshooting. These resources are crucial for understanding the machine’s unique features and ensuring its longevity. Digital copies are available online, but a physical manual offers an authentic experience. Restoring a Singer 201 often involves referencing the manual to correctly reassemble components and adjust settings, guaranteeing optimal sewing performance for years to come.
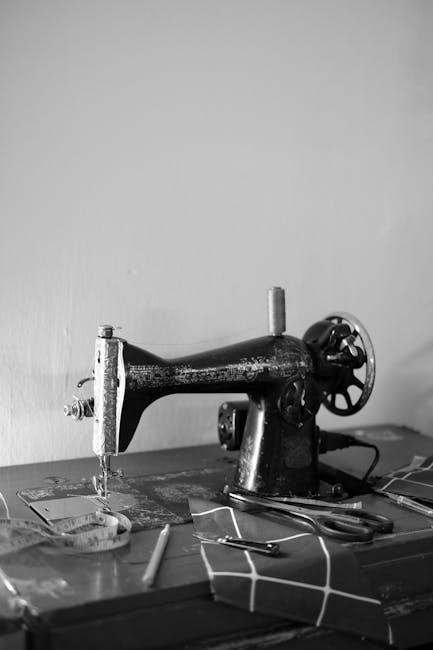
Singer 15 ⎯ A Classic Black Sewing Machine
The Singer 15, instantly recognizable by its sleek black finish, represents a pinnacle of Singer’s design and engineering from 1945 to 1958. Finding an original Singer 15 manual is paramount for proper operation and maintenance. These manuals detail the machine’s capabilities, including its versatile stitch options and robust motor.
A well-preserved manual guides users through essential tasks like bobbin winding, thread tension adjustment, and oiling points. It also provides troubleshooting tips for common issues, ensuring the machine continues to function smoothly. Digital scans are readily available, but a vintage manual adds to the machine’s charm. Restoring a Singer 15 often relies on the manual’s diagrams and instructions for accurate assembly and optimal performance.
Singer Featherweight 221 & 222K
The Singer 221 and 222K Featherweight machines, renowned for their portability and durability, are highly sought after by quilters and sewing enthusiasts. Locating a genuine owner’s manual is crucial for understanding these compact powerhouses. Original manuals detail the specific features of each model, including the unique differences between the 221 (American-made) and 222K (Scottish-made) versions.
These manuals provide step-by-step instructions for threading, bobbin winding, and performing routine maintenance; They also offer valuable troubleshooting advice for common issues like skipped stitches or tension problems. Digital copies are widely available, but a vintage manual enhances the machine’s historical value. Proper use, guided by the manual, ensures decades of reliable service from these iconic machines.
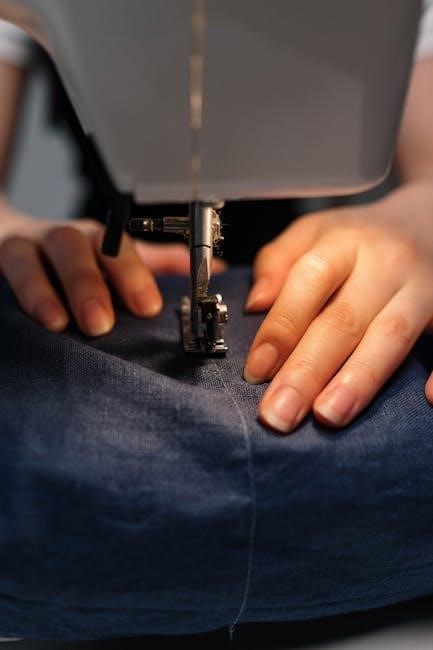
Essential Maintenance for Old Singer Machines
Regular cleaning and oiling, detailed in the manual, are vital for preserving the functionality and longevity of these vintage sewing machines.
Cleaning and Oiling
Maintaining a vintage Singer requires diligent cleaning and oiling, as outlined in your machine’s manual. Dust, lint, and old oil accumulate, hindering smooth operation. Begin by disconnecting the power and using a brush to remove loose debris from all accessible areas – the bobbin case, feed dogs, and surrounding mechanisms.
A specialized sewing machine oil is crucial; avoid household oils, which can gum up the works. Apply a few drops to key moving parts – the motor, gears, and joints – as indicated in the manual’s diagrams. Wipe away any excess oil to prevent staining fabric. Regular cleaning, ideally after each use, and oiling every few months, will ensure your Singer continues to perform beautifully for years to come, preserving its historical value and sewing prowess.
Belt Replacement
Replacing a worn belt is a common maintenance task for vintage Singers, restoring power transfer from the handwheel to the needle mechanism. Consult your machine’s manual for specific instructions, as belt routing varies between models. Typically, this involves removing the handwheel and any surrounding covers to access the old belt.
Carefully note the belt’s path before removal to ensure correct reinstallation. A new belt, sized appropriately for your Singer, should be looped around the motor pulley and the flywheel, ensuring a snug but not overly tight fit. Reassemble the machine, verifying the belt runs smoothly without slipping. A properly replaced belt will eliminate sluggishness and restore the machine’s full sewing power, extending its lifespan and usability.
Bobbin Winding and Tension Adjustment
Proper bobbin winding is crucial for consistent stitch quality on vintage Singers. Most models feature a bobbin winder mechanism activated by the handwheel; consult your manual for specific engagement instructions. Ensure the thread is guided correctly through the tension discs during winding, creating an even, firm bobbin fill.
Tension adjustment is equally vital. Incorrect tension leads to looping or puckering. Begin by testing with the recommended thread and fabric combination. Adjust the upper tension dial incrementally, observing the stitch formation. A balanced tension creates even stitches on both fabric layers. Refer to your manual’s diagrams for tension settings and troubleshooting tips, ensuring optimal sewing performance and beautiful results.

Troubleshooting Common Issues
Addressing problems like thread breakage, skipped stitches, or a non-turning machine often requires consulting your Singer’s manual for guided solutions.
Thread Breakage
Frequent thread breakage with your vintage Singer often signals a few common issues, easily addressed with a little troubleshooting and reference to your machine’s manual. First, ensure you’re using the correct needle size for your fabric weight; a too-small needle creates excessive friction. Secondly, re-thread the entire machine, carefully following the manual’s diagram – even a slightly misthreaded machine can cause breaks.
Check the tension settings, as improper tension is a primary culprit. The manual will guide you through adjusting both the upper and bobbin tensions. Also, inspect the thread path for any obstructions or rough edges that might be damaging the thread. Finally, a worn or damaged needle should be replaced immediately; a burr on the needle’s eye can consistently snap the thread. Regular cleaning and oiling, as detailed in the manual, also contribute to smooth operation and prevent breakage.
Skipped Stitches
Encountering skipped stitches on your vintage Singer is frustrating, but often easily remedied by consulting your machine’s manual and performing a few checks. Begin by ensuring the needle is correctly inserted – it must be fully pushed up into the needle clamp. Verify you’re using the appropriate needle type and size for your fabric; a dull or incorrect needle is a common cause.
Next, examine the timing of your machine. While complex, the manual may offer basic timing adjustment instructions, or suggest seeking professional servicing. Check the foot pressure; insufficient pressure can lead to skipped stitches, especially on thicker fabrics. Finally, ensure the bobbin is correctly wound and inserted, and the bobbin tension is properly adjusted, referencing the manual’s diagrams for guidance. Regular cleaning and oiling, as outlined in the manual, maintain optimal performance.
Machine Won’t Turn
If your vintage Singer refuses to turn, don’t immediately assume a major mechanical failure. Your machine’s manual is the first resource – it may detail specific troubleshooting steps for this issue. Begin by checking for obstructions; lint, thread scraps, or even a stray pin can jam the mechanism. Carefully remove the handwheel cover (if applicable) and inspect for visible blockages.
Next, ensure the bobbin case is correctly inserted and not binding. A stuck bobbin can prevent the machine from rotating. Consult the manual’s diagrams for proper bobbin case installation. Attempt to turn the machine slowly by hand, using the handwheel, to feel for resistance. If it remains stubbornly stuck, professional servicing is recommended, as forcing it could cause further damage. Regular oiling, as detailed in the manual, prevents stiffness.
Resources for Singer Sewing Machine Enthusiasts
Numerous online forums, communities, and readily available manuals offer invaluable support for identifying, repairing, and appreciating your vintage Singer machine.
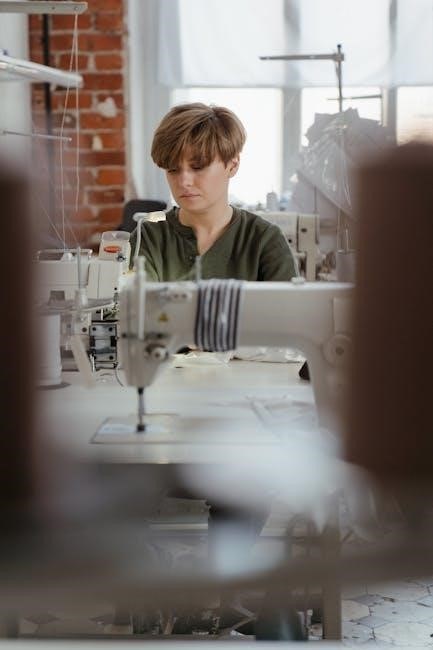
Online Forums and Communities
Engaging with fellow Singer enthusiasts online provides a wealth of knowledge and support. Dedicated forums and vibrant communities serve as excellent resources for troubleshooting issues, identifying parts, and sharing restoration experiences. These platforms often host extensive archives of manuals, documentation, and helpful tips specifically for older Singer models.
Members frequently share photos, serial number information, and insights into dating machines, fostering a collaborative learning environment. Whether you’re seeking advice on belt replacement, bobbin winding, or deciphering a serial number, these communities offer a supportive space to connect with experienced owners and collectors. Active participation can unlock valuable information and accelerate your understanding of your vintage Singer.
Manuals and Documentation
Accessing original manuals and documentation is crucial for understanding the intricacies of your vintage Singer sewing machine. These resources provide detailed instructions on operation, maintenance, and troubleshooting specific to your model. While finding original printed manuals can be challenging, numerous online archives offer downloadable versions, often in PDF format.
These documents detail proper threading techniques, stitch selection guides, and recommended oiling procedures. They also contain exploded diagrams illustrating the machine’s internal components, aiding in repairs and part identification. Utilizing these resources ensures you operate and maintain your Singer correctly, preserving its functionality and historical value. Careful study of the manual unlocks the full potential of your classic machine.
Parts Suppliers
Maintaining a vintage Singer often requires sourcing replacement parts, as wear and tear are inevitable over decades of use. Several specialized suppliers cater specifically to Singer sewing machine enthusiasts, offering a wide range of components – from belts and bobbins to needles and complete motor assemblies.
Online retailers frequently stock both new-old-stock (NOS) parts and reproduction items. When ordering, having your machine’s model and serial number readily available is vital for ensuring compatibility. Reputable suppliers often provide detailed parts diagrams and knowledgeable customer support to assist with identification. Prioritize suppliers with positive reviews and a clear return policy, guaranteeing satisfaction with your purchase and keeping your Singer running smoothly for years to come.
Dating Your Singer Sewing Machine by Model Number
Pre-1950 Singer models often reveal their production timeframe through sequential model numbering, offering a valuable clue to their age and history.
Model Numbers Before 1950
Before 1950, Singer utilized a largely sequential numbering system, making dating via model number relatively straightforward. Early machines didn’t always have clearly defined model numbers as we recognize them today, but as production increased, a more structured approach emerged. Examining the number itself can offer clues; lower numbers generally indicate earlier production dates. However, variations and overlaps exist, necessitating caution.
The system wasn’t entirely linear, as Singer introduced new features or slight modifications without necessarily incrementing the model number. Therefore, relying solely on the number isn’t foolproof. Cross-referencing with production year tables – which detail the ranges of numbers assigned during specific years – is crucial for accurate dating. These tables, compiled by Singer enthusiasts, provide a more precise timeframe for your machine’s manufacture, helping to understand its historical context.
Using Production Year Tables (e.g., 1963-1964 examples)
Production year tables are invaluable tools for pinpointing your Singer’s manufacture date. For instance, machines produced in 1963 typically fall within the serial number range of AN-465.662 to AN-661.994. Moving into 1964, the range shifts to AN-661.995 to AN-999;999. These ranges aren’t absolute, but provide a strong indication.
It’s essential to remember these tables represent ranges, not exact matches. A machine with a number near the boundary might have been produced in either year. Consulting multiple tables and comparing information from different sources enhances accuracy. These tables, often found on dedicated Singer enthusiast websites, are compiled from historical records and collector data, offering the best available estimate for your machine’s age.
Valuing Your Vintage Singer
Determining a Singer’s value involves condition, rarity, model, and included accessories; appraisal resources offer insights into current market prices for collectors.
Factors Affecting Value
Several key elements significantly influence the value of a vintage Singer sewing machine. Condition is paramount; machines in excellent working order, with minimal wear, command higher prices. Rarity plays a crucial role – limited-edition models or those with unique features are highly sought after by collectors.
The specific model is also a major determinant. Certain models, like the Featherweight 221 or the Singer 201, are particularly desirable. Originality is vital; machines with all original parts, including the motor and attachments, are worth more than those with replacements.
Completeness matters too – having the original cabinet, instruction manual, and accessories increases value. Finally, aesthetic appeal contributes; a beautifully maintained machine with original decals is more attractive to buyers. Market demand and current collecting trends also impact pricing.
Where to Find Appraisal Information
Determining the precise value of your vintage Singer often requires expert appraisal. Online forums dedicated to Singer machines, like those found on sewing machine enthusiast websites, can offer preliminary insights based on community knowledge and recent sales. However, these are often estimates.
For a more formal valuation, consider contacting antique appraisers specializing in sewing machines. Auction houses, such as LiveAuctioneers or eBay’s completed listings, provide data on past sales of comparable models.
Local antique shops with knowledgeable staff can also offer opinions, though their primary goal is often purchasing. Examining completed sales on platforms like Etsy can reveal current market prices. Remember to provide detailed photos and the machine’s serial number for accurate assessments.