Forza Motorsport Car Tuning Guide: An Overview (2026)
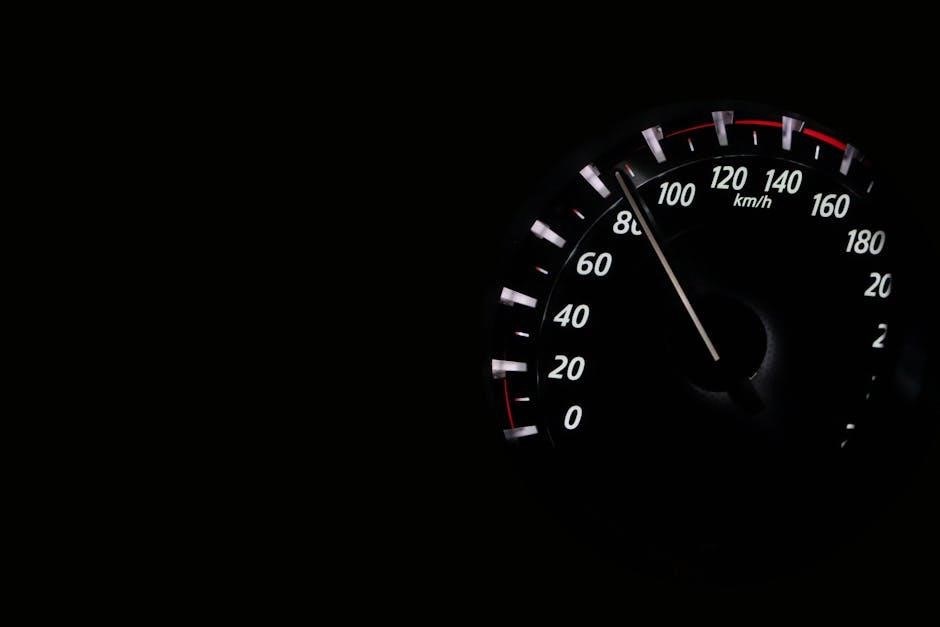
Forza Motorsport’s tuning depth is vast, impacting performance significantly; mastering it requires understanding car stats and menus, crucial for both track and open-world racing.
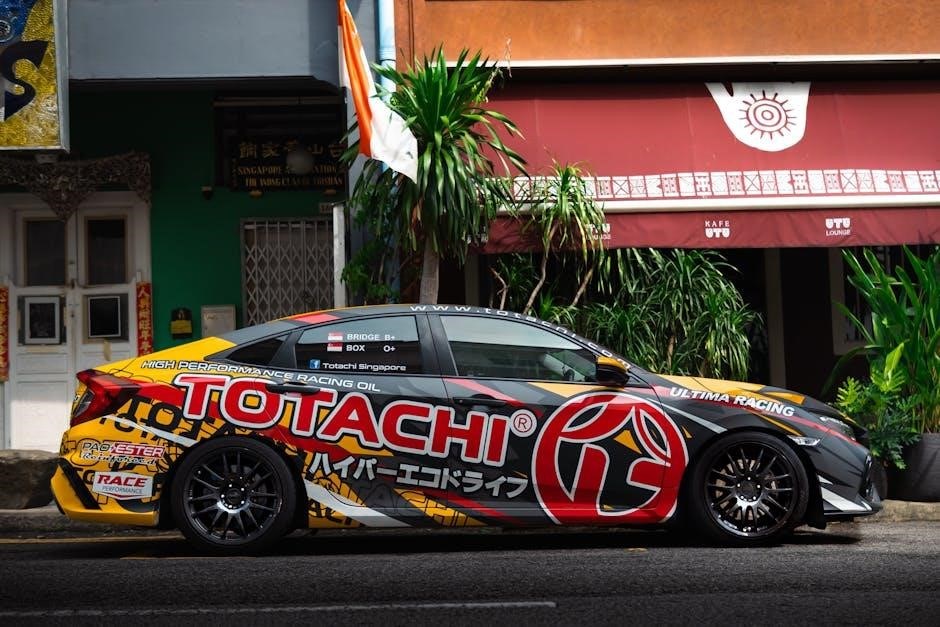
Forza Motorsport’s enduring appeal lies in its realistic physics and incredibly detailed car customization. Tuning isn’t merely about maximizing speed; it’s about crafting a car that perfectly suits your driving style and the demands of a specific track or racing discipline. The series has evolved, and player feedback is crucial, as evidenced by recent discussions surrounding the game’s direction.
Whether you’re a newcomer or a seasoned veteran, understanding the fundamentals of tuning is essential. This guide will delve into the core concepts, from adjusting brake bias and suspension settings to optimizing gear ratios and aerodynamics. We’ll also explore advanced techniques and how to adapt your tuning strategies for Forza Horizon 6’s open-world environment, considering new vehicle introductions like the Acura Integra and NSX, alongside the Alfa Romeo.
Understanding Car Stats and Tuning Menus
Before diving into adjustments, familiarize yourself with key car statistics: Weight, Power, Torque, Aerodynamics, and Braking. These influence handling and performance. Forza Motorsport’s tuning menus are extensive, categorized for clarity. Access them through the car upgrade screen.
Pay close attention to sections like Suspension, Brakes, Aerodynamics, Drivetrain, and Engine. Each offers granular control. Utilize the in-game telemetry data to understand how changes impact your car’s behavior. The Forza community forums are invaluable resources for deciphering complex stats and menu options, especially with the upcoming Forza Horizon 6 and its new vehicles. Mastering these menus is the first step towards unlocking your car’s full potential.
Essential Tuning Areas for Performance
Forza Motorsport performance hinges on brake bias, suspension adjustments (springs, dampers, sway bars), and optimized gear ratios – foundational elements for speed.
Brake Bias Adjustment
Brake bias is a critical tuning element in Forza Motorsport, dictating how braking force is distributed between the front and rear wheels. Adjusting this impacts turn-in, stability, and stopping distance. A forward bias (more force to the front) generally increases stability under braking, reducing the risk of rear-end lockup, but can induce understeer. Conversely, a rearward bias enhances turn-in responsiveness and can reduce understeer, but increases the chance of oversteer and instability.
Finding the optimal brake bias requires experimentation and depends heavily on the car and track. Start with a neutral bias (50/50) and incrementally adjust it, observing the car’s behavior during braking zones. Pay attention to whether the car wants to rotate too much (oversteer) or push straight (understeer). Small adjustments can make a significant difference, so methodical testing is key to maximizing braking performance.
Suspension Tuning: Springs, Dampers & Sway Bars
Suspension tuning in Forza Motorsport profoundly affects handling. Springs determine ride height and initial response to bumps; stiffer springs reduce body roll but can decrease grip on uneven surfaces. Dampers control spring oscillation, influencing how quickly the car settles after impacts. Adjusting bump and rebound damping independently refines control. Sway bars (anti-roll bars) resist body roll, impacting turn-in and balance.
Stiffer sway bars increase responsiveness but can reduce grip. A balanced setup is crucial; too much stiffness can lead to instability. Experiment with combinations, considering track characteristics. Softer setups suit bumpy tracks, while stiffer setups excel on smooth circuits. Fine-tuning these elements unlocks significant performance gains.
Gear Ratio Optimization
Gear ratio optimization in Forza Motorsport is vital for maximizing acceleration and top speed. Final drive adjusts all gears proportionally, impacting overall gearing. Individual gear ratios allow precise control over each gear’s output. Shorter gears provide quicker acceleration but lower top speed, ideal for tight tracks. Longer gears favor high-speed circuits, sacrificing initial punch.
Adjust ratios to keep the engine within its optimal power band throughout the rev range. Avoid excessively long or short gears, as they hinder performance. Consider track layout and car characteristics when tuning. Experimentation and telemetry data analysis are key to finding the perfect balance.
Advanced Tuning Techniques
Advanced techniques, like differential and aerodynamic adjustments, alongside engine tuning, unlock peak performance; mastering these elements separates casual players from competitive racers.
Differential Tuning: Locking & Acceleration
Differential tuning profoundly impacts how power is distributed to the wheels, influencing cornering behavior and acceleration. Adjusting the locking percentage affects wheelspin and stability; higher values lock the wheels together more rigidly, enhancing traction on loose surfaces but potentially inducing understeer on pavement.
Conversely, lower values allow for greater differential movement, improving turn-in response and reducing understeer, but sacrificing some straight-line acceleration. Acceleration differential settings control how quickly the differential locks and unlocks during acceleration, influencing launch control and corner exit speed. Experimentation is key, as optimal settings vary drastically based on car type, track conditions, and driving style. Finding the right balance between locking and acceleration is crucial for maximizing performance.
Aerodynamics: Downforce & Drag
Aerodynamic adjustments are vital for optimizing handling and speed. Downforce increases grip, particularly in corners, but also generates drag, reducing top speed. Conversely, reducing downforce minimizes drag, boosting straight-line speed, but compromises cornering stability.
Adjustable elements like wings, splitters, and diffusers allow fine-tuning of this balance. Tracks with many high-speed corners benefit from higher downforce, while those with long straights favor lower downforce setups. Understanding the trade-offs between grip and speed is essential. Careful consideration of aerodynamic settings can dramatically improve lap times and overall performance, tailoring the car to specific track characteristics.
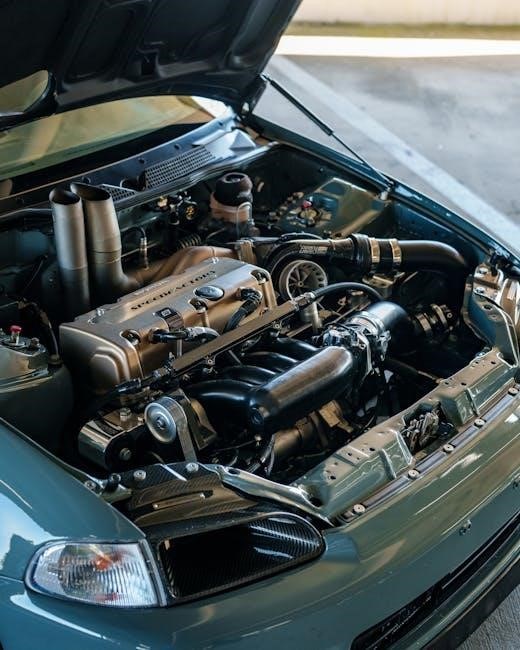
Engine Tuning: Forced Induction & Fueling
Engine tuning in Forza Motorsport focuses on maximizing power output and responsiveness. For cars with forced induction – turbochargers or superchargers – boost pressure is a key adjustment, impacting horsepower and torque. Higher boost yields more power but can introduce turbo lag and increase heat.
Fueling adjustments ensure the engine receives the correct air-fuel mixture, preventing knock and optimizing combustion. Proper fueling is crucial when increasing boost or modifying other engine parameters. Careful tuning of these elements unlocks significant performance gains, but requires a nuanced understanding of engine mechanics and potential risks.

Tuning for Specific Car Types
Forza Motorsport demands tailored tuning; road cars benefit from handling improvements for track use, while race cars require maximum performance optimization for competitive racing.
Tuning Road Cars for Track Use
Transforming a street-legal vehicle into a capable track machine within Forza Motorsport requires a focused tuning approach. Prioritize suspension upgrades – stiffer springs and dampers reduce body roll, enhancing cornering stability. Adjust brake bias towards the front for increased stopping power and mitigate potential rear-lockup.
Aerodynamics are crucial; adding front splitters and rear wings generates downforce, improving grip at higher speeds. Gear ratios should be shortened to maximize acceleration out of corners, but be mindful of top speed limitations. Slightly reducing ride height can lower the center of gravity, further improving handling. Remember, the goal isn’t necessarily outright speed, but consistent lap times and predictable behavior.
Tuning Race Cars for Maximum Performance
Extracting peak performance from dedicated race cars in Forza Motorsport demands precision. Aggressive suspension setups – extremely stiff springs, adjustable dampers, and optimized sway bars – are essential for minimizing body roll and maximizing grip. Fine-tune differential settings for optimal power delivery and corner exit acceleration, often favoring a locked differential for straight-line speed.
Aerodynamics become paramount; maximize downforce with large wings and splitters, accepting the associated drag penalty. Gear ratios must be meticulously tailored to each track, prioritizing acceleration in tight sections and top speed on long straights. Engine tuning focuses on maximizing horsepower and torque, potentially utilizing forced induction.
Troubleshooting Common Tuning Issues
Addressing oversteer or understeer requires careful brake bias and suspension adjustments; handling imbalances often stem from incorrect differential or aerodynamic configurations.
Oversteer and Understeer Correction
Correcting oversteer and understeer in Forza Motorsport demands a systematic approach. Oversteer, where the rear loses grip, can be tamed by increasing rear ride height, softening rear springs, or adding rear downforce. Conversely, reducing rear ride height, stiffening rear springs, or decreasing rear downforce can help.
Understeer, a lack of front grip, is often resolved by increasing front ride height, softening front springs, or adding front downforce. Reducing front ride height, stiffening front springs, or decreasing front downforce can also be effective. Brake bias adjustments play a crucial role; shifting bias forward can reduce oversteer, while shifting it rearward can mitigate understeer. Remember, small adjustments are key, and telemetry data is invaluable for precise corrections.
Handling Imbalance Solutions
Addressing handling imbalances in Forza Motorsport requires a nuanced understanding of weight transfer and suspension dynamics. If a car feels unstable during corner entry, focus on front suspension adjustments – stiffer springs or increased damping can enhance responsiveness. For mid-corner instability, adjust dampers to control body roll and maintain grip.
Exit instability often points to rear suspension issues; softening rear springs or adjusting dampers can improve traction. Sway bar adjustments are vital: a stiffer front sway bar reduces body roll but can induce understeer, while a stiffer rear sway bar combats oversteer. Tire pressures also influence balance; higher pressures increase responsiveness but reduce grip.

Utilizing Forza Motorsport’s Tuning Features
Leverage pre-set tunes as a foundation, then refine using telemetry data to analyze performance, identifying areas for improvement and maximizing your car’s potential.
Using Pre-Set Tunes as a Starting Point
Embarking on car tuning in Forza Motorsport can feel daunting, especially for newcomers. Fortunately, the game offers a wealth of pre-set tunes created by experienced players and the development team. These tunes serve as excellent starting points, providing a balanced setup tailored to specific cars and track conditions.
Instead of beginning with a completely blank slate, downloading a pre-set tune allows you to immediately experience a performance improvement and gain insight into how different tuning adjustments affect handling. Experiment with various tunes, noting the changes in feel and lap times.
Consider the tune’s intended purpose – is it designed for qualifying, racing, or drifting? Once you’ve identified a tune that feels promising, use it as a base and begin making incremental adjustments to personalize it to your driving style and preferences. This iterative approach is far more efficient than random tinkering.

Analyzing Telemetry Data for Refinement
Beyond subjective feel, Forza Motorsport provides robust telemetry data crucial for precise tuning. Analyzing this data reveals objective insights into your car’s behavior on track, pinpointing areas for improvement. Key metrics include speed traces, G-forces, brake pressure, and throttle application.
Observe speed traces to identify acceleration and deceleration zones; inconsistent traces suggest tuning imbalances. High G-forces indicate cornering grip, while excessive understeer or oversteer is revealed through steering angle data.
Brake pressure graphs highlight potential locking or inefficiencies. By correlating telemetry with lap times and in-car sensations, you can systematically refine your tune, optimizing performance beyond what’s intuitively apparent. This data-driven approach is essential for competitive racing.

Community Resources and Tuning Sharing
Forza’s vibrant community offers tunes and discussions via online forums; sharing setups and seeking advice accelerates learning and unlocks performance potential for all racers.
Finding and Sharing Tunes Online
Forza Motorsport’s community thrives on shared knowledge, making online tune repositories invaluable resources. Players routinely upload their meticulously crafted setups, categorized by car and track, offering instant performance boosts. Websites and in-game features facilitate easy browsing and downloading of these tunes, allowing drivers to experience diverse handling characteristics.
Conversely, sharing your own tunes contributes to the collective understanding of car optimization. The game allows direct uploading of custom setups, complete with detailed descriptions outlining the tuning philosophy and intended driving style. Active participation in online forums and communities further enhances this exchange, fostering collaborative refinement and pushing the boundaries of performance. Remember to credit creators when utilizing shared tunes!
Forza Forums and Tuning Discussions
Forza’s official forums and dedicated online communities are hubs for in-depth tuning discussions. Experienced players share insights, dissect car behaviors, and debate the merits of different tuning approaches. These platforms provide a space to ask questions, receive personalized advice, and learn from the collective wisdom of the community.
Navigating these forums effectively requires understanding the established etiquette and utilizing search functions to locate relevant threads. Participating constructively, offering helpful feedback, and respecting diverse opinions are key to fostering a positive learning environment. Discussions often revolve around specific cars, tracks, or tuning challenges, providing targeted solutions and promoting continuous improvement.
Looking Ahead: Forza Horizon 6 Tuning Considerations (2026)
Forza Horizon 6, launching in 2026, demands adapting tuning strategies for open-world racing, considering new cars like the Acura Integra and Alfa Romeo.
Adapting Tuning Strategies for Open-World Racing
Forza Horizon 6’s expansive open world necessitates a shift in tuning philosophy compared to the focused track racing of Forza Motorsport. Prioritize a more balanced setup, favoring responsiveness and predictability over absolute peak performance. Suspension adjustments should lean towards softer settings to absorb varied terrain, including dirt, gravel, and paved roads.
Gear ratios require broadening to accommodate both high-speed highway stretches and tight, winding off-road paths. Aerodynamics should be dialed back to reduce drag, enhancing top speed for cross-country exploration. Differential tuning should favor a more locked setting for improved traction on loose surfaces, but not so much as to induce understeer on pavement. Remember, consistency and adaptability are key in the Horizon environment.
Forza Horizon 6 introduces exciting new vehicles demanding unique tuning approaches. The 2023 Acura Integra A-Spec benefits from suspension tweaks focusing on handling balance, maximizing its front-wheel-drive agility. The 2022 Acura NSX Type S, returning from Forza Motorsport, allows for aggressive aerodynamic setups and precise differential adjustments to exploit its mid-engine layout.
The 1990 Alfa Romeo SE 048SP, a newcomer, requires careful weight reduction and power tuning to unlock its potential. Its unique chassis demands nuanced suspension calibration. Expect these cars to become popular tuning projects, offering diverse challenges and rewarding performance gains for dedicated players.